
In this installment, you will decide on the mechanical gear you want to drive your ride. There are a lot of different ways to go here, and each method has its pros and cons. I will eliminate a few from the start.
Direct Drive – The motor is mounted on the inside of the hanger (towards the center) and has an insertable wheel cog so you can easily attach wheels. These insertable wheel cogs are typically ABEC core compatible, but there are some other options available. I’m going to caution you against this, it’s very new and there is very little data on the longevity of this type of hardware.
Hub Drive – The motor is inside the wheel, and the wheel is reduced to a urethane tire attached to the outside of the motor can. I am going to once again caution you against using these. It may seem like an easy solution, but 90% of the available hubs are absolute garbage, have crap brakes, don’t stand up to water, have very little urethane and are incredibly uncomfortable to ride. There are exceptions (Hummie Hubbs, these things are the absolute BOMB!), but none that have been tested for long and are readily available.
Belt Drive – This method is the most common, most reliable, easiest to work on and all of the gear is readily available. This is what we are going to focus on.
Single or dual?
At this point you need to decide if you’re going to build a single or dual motor Esk8. You can easily build a single motor board that will be tons of fun to ride and will do 95% of what a dual motor board can do.
The major difference, other than a substantially higher cost, is in performance. You eliminate torque steer with a motor on each side of the board. If you don’t know what that is google it, it’s a pain in the ass but not a huge deal, mostly a comfort thing. You don’t go substantially, if at all, faster with a dual motor build. You do have more torque, so you can get to top speed much faster. At the top end, you will also have more power to wield against wind resistance, but again it’s not a substantial gain.
Most people think there is a much higher energy cost with dual motors, but I have not found that to be true. The energy cost is defined by the amps it takes to turn the motor at whatever RPM you happen to be turning at. With dual motors the amps required are much less than with a single motor. You also generate substantially less heat, so your motors last longer. In myu humble opinion, either is fine, and you can always add another motor (and the other required components) later.
If you’re building a single motor build commit to a 15mm belt & pulley setup now. This will minimize belt slippage and accidental belt tearing as well as increase the lifetime of your belts. If you’re building a dual motor board the max belt and pulley width will be determined by the trucks and wheels you use. As an example, its difficult to fit dual motors and 15mm belts on Caliber 2 trucks as in it takes a lot of work that may be beyond your capability and is beyond the scope of what we are discussing here. With Surf Rodz (both TKP & RKP versions) and 80mm, or longer, axles it’s no problem to use dual 15mm belts and pulleys on a dual motor setup.
Wheel Pulleys
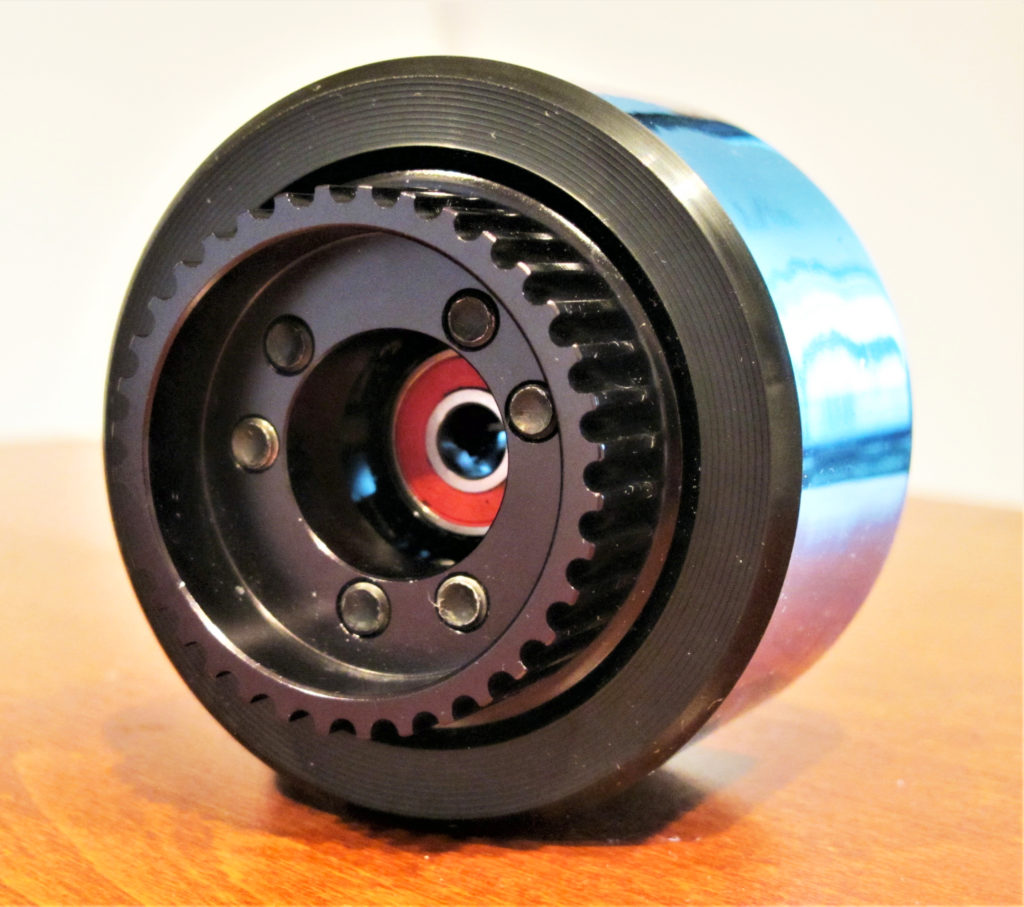
You need pulleys with pulley inserts that fit the wheels you chose. Most wheels use an ABEC compatible insert, but Kegel cores are becoming more available. An ABEC core has 6 wide flat slots around the bearing seat, a Kegel core has 10 cylindrical slots around the bearing seat. There are lots of vendors that offer both styles. Refer to the Vendor and Parts list at the end of the article for options.
The most common pulley setup is a 36-tooth wheel pulley with a 15-tooth motor pulley. Both are easy to get from esk8 vendors, some are even available on eBay and Amazon.
Choosing your motor and wheel pulleys involves a mathematical concept called “gear ratio” that can be used to define potential speeds, range, torque and energy cost. I will get into the math later. In order to keep it simple, use this rule: The more teeth the wheel pulley has, the more torque you will have. The less teeth the wheel pulley has, the more speed you will have.
A 36 tooth wheel pulley is a good mid-range choice, and it’s easy to swap out later if you decide you want to go faster, which you will, as everyone does. There are other ways to manage potential speed and torque, but controlling the gear ratio is by far the easiest.
If you think you will likely want a larger or smaller wheel pulley in the future, get the BKB Modular Pulley(s). They are precision and flawless, plus they are modular.
If you want to use 36 tooth pulleys and either upgrade later and have more parts or just want to save a couple of bucks check out the TB Wheel Pulleys, he has a massive selection.
If you’re an incredibly cheap bastard or just want to experiment, and have access to a 3D Printer, you can print your own wheel pulleys. I do not suggest this as layer adhesion can be an issue and they will wear much more quickly than an aluminum or steel pulley. Here’s a modular pulley system I developed a couple of years ago.
Motor Pulleys
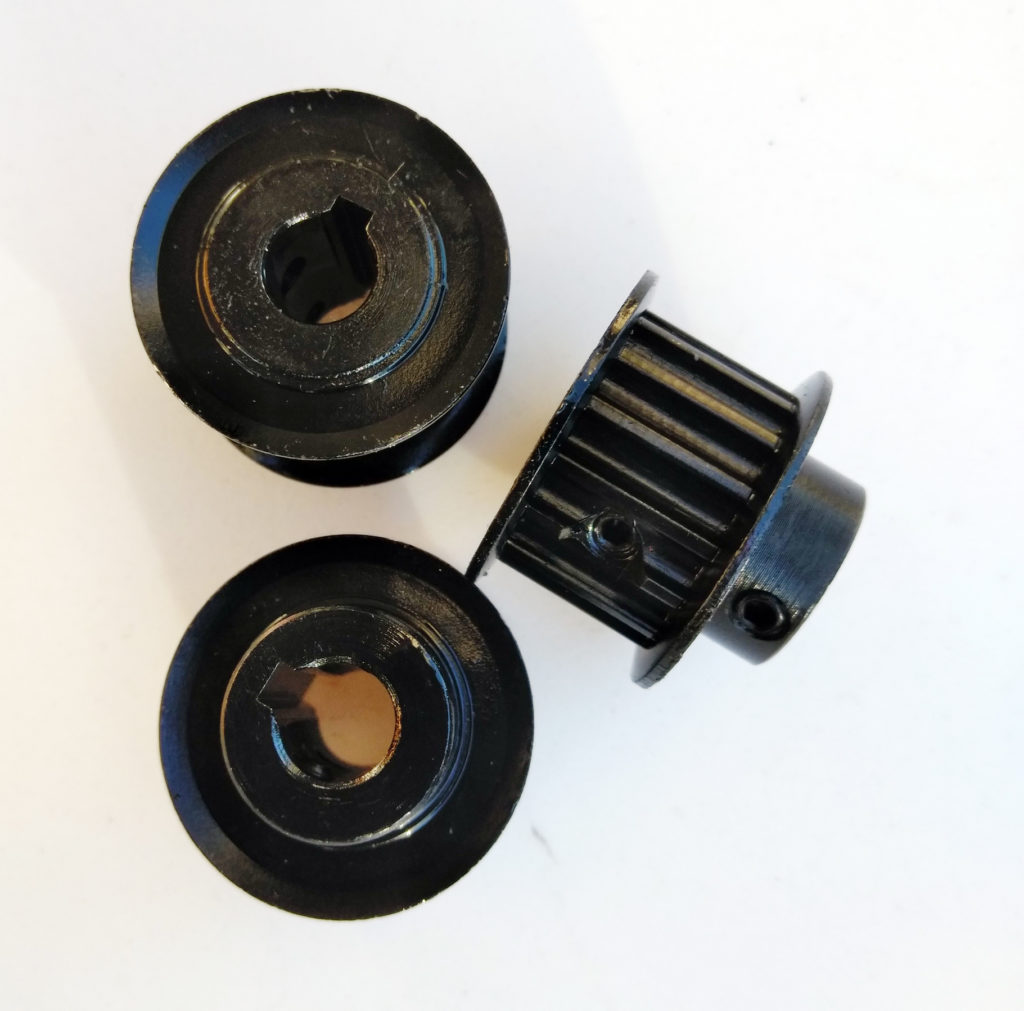
Motor pulleys are pretty simple. In this write up I am recommending that you use 12mm or 15mm belts to manage slippage on acceleration/braking and torque transfer slip on single motor builds. As this is a known value, you just have to decide which length you want to use and then get motor pulleys of the same width which have a 15 or 16 tooth count.
There are steel and aluminum motor pulleys readily available, and they aren’t expensive so feel free to try both depending on your build. The BKB 15t 15mm motor pulley is great. The TB 16t 15mm motor pulley is also great, plus he offers 12mm & 15mm versions.
Motor Mounts
There are a lot of different motor mounts available. If you’re using Caliber 2 trucks I would advise using a motor mount that uses a clamp system or one that is machined with very tight tolerances.
The problem with Caliber 2 trucks is that there is a lot of deviation in the hanger profile, meaning from 1 truck to the next there might be up to 1.5mm difference in a single face or even multiple faces.
For Caliber 2 trucks I suggest using either BKB Mounts or TB Mounts, they work.
For Surf Rodz trucks use Psychotiller’s RKP Press Fit Mounts or TKP Quick 66 Mounts. They are high precision, unkillable and sexy.
Belts
There are many form factors of belts available. In this guide we are using HTD5M belts. The important part here is 5M, it means the teeth of the belt are at a 5mm pitch, the pitch of the belts and pulleys have to match or it doesn’t work.
As a community we typically use 5M belts because they are stronger, less prone to slip and the availability of different sizes is much higher than other types.
Most urethane builds use between 255mm and 280mm belts, depending on pulley and motor plate sizes. Most pneumatic builds use somewhere between 320mm and 350mm, depending on pulley and motor plate sizes.
I will give you links for belts as we get deeper into the build process and where I will show you how to calculate center to center distance and define the belt size you need. Most Caliber 2 motor mounts are fairly compact and commonly use 265mm belts (265-5-15 or 265-5-12 HTD5M Timing Belt).
To get you started go to the B&B Belt Length Calculator and fill out the form just like this.
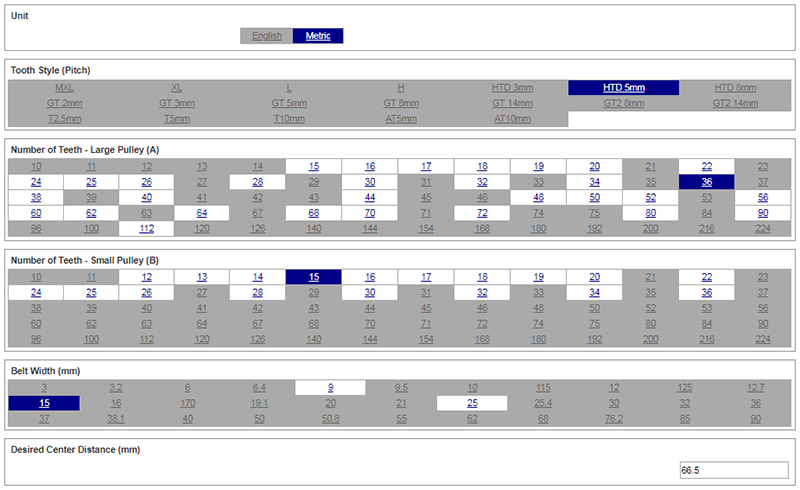
Then change it up to see different values. Best of all you can get the actual center to center distance from your mounted wheel and motor pulley and discover the belt size you need. I’ll elaborate more on this later. Until next time!
- Hoyt St Drive Train – The Cadillac of Esk8 drive systems - November 26, 2019
- DAVEGA X – Seductive Telemetry - October 22, 2019
- Why you should want Hummie Hubs and how to get them. - July 18, 2019